JoyPro reads live telemetry from the game you fly (airspeed, angle of attack, G, gear, guns, hits ...) and turns it
into forces on a force feedback stick such as the VPforce Rhino: stall buffet, stick weight under G, gear and flap
rumble, gun bursts, runway rumble, and a centring spring that stiffens with airspeed and follows the trim. What the
stick does is a graph of nodes that you can change. It works with DCS World, IL-2 Great Battles, IL-2 Korea and War
Thunder.
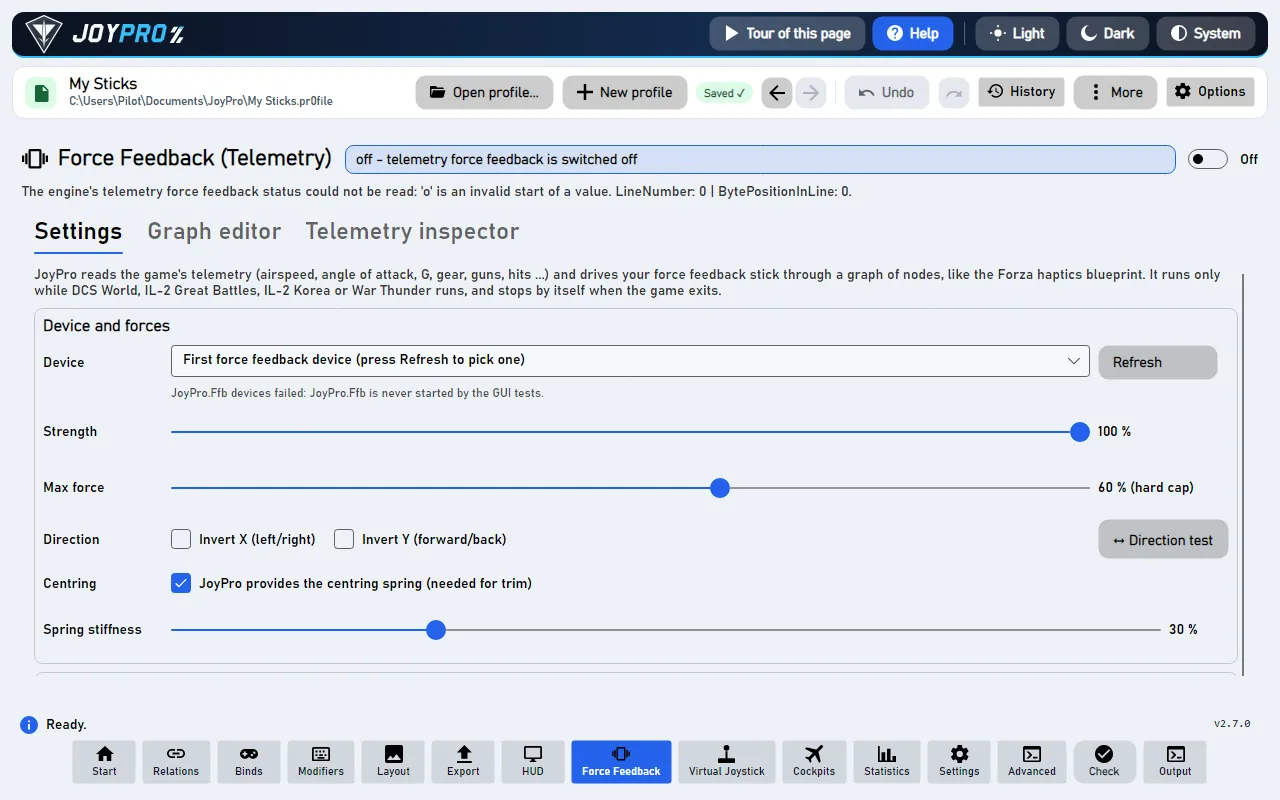
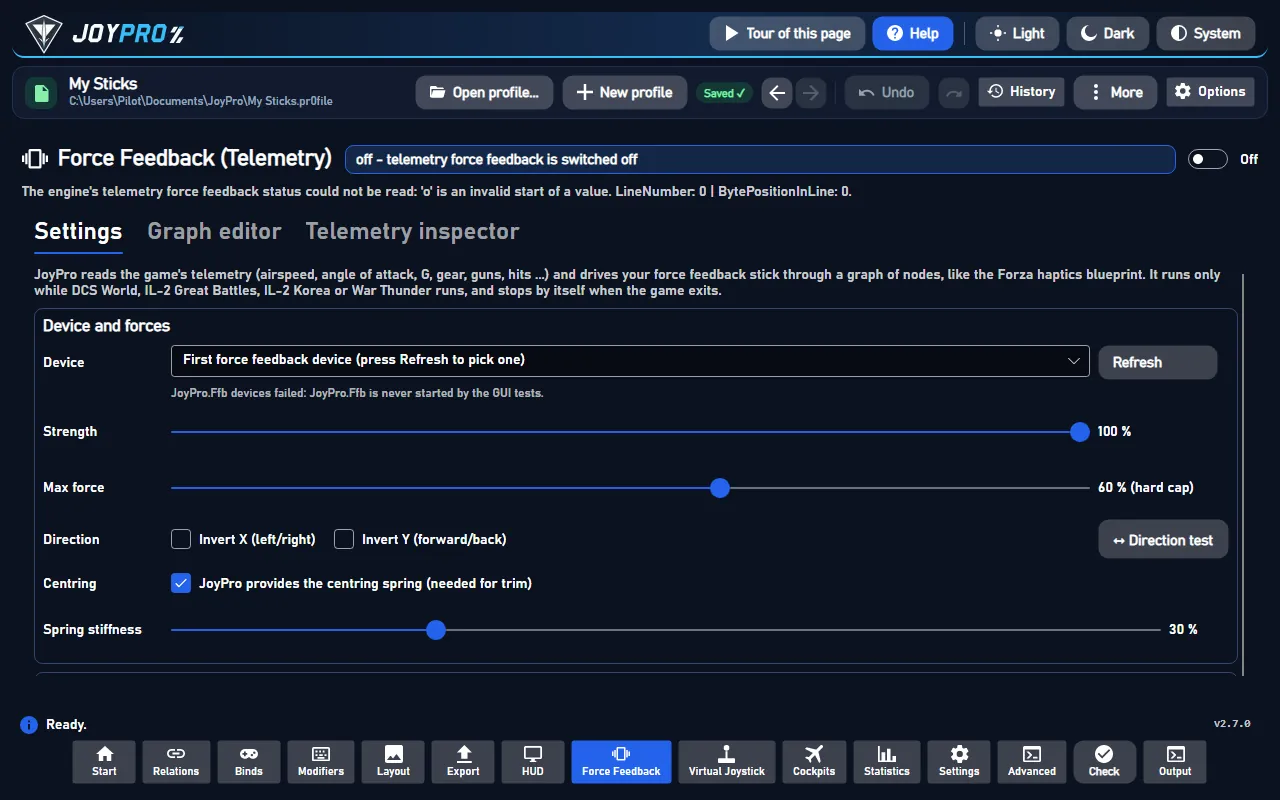
The Force Feedback page, Settings tab
flowchart LR
  G["Your game<br/>sends live data"] --> M["JoyPro reads it:<br/>speed, G, gear ..."]
  M --> GR["The graph turns<br/>it into forces"]
  GR --> D["Your force<br/>feedback stick"]
From the game's live data (DCS, IL-2, War Thunder) to forces on your stick. Every arrow runs all the time while you fly.
Switch the page's toggle to On. JoyPro now looks every 5 seconds for a supported game; nothing runs before.
Under Device and forces press Refresh and pick your force feedback stick. Leave Strength and Max
force as they are for a start (the max force caps every effect, 60 % by default).
Press ↔ Direction test. JoyPro gently pushes the stick and asks which way it went: answer with the buttons. It
sets Invert X / Y for you and checks the centring spring and the trim.
Under Game, pick your game and press Install under Telemetry export (close the game first). This
makes DCS or IL-2 send its telemetry to JoyPro (War Thunder sends it by itself). Then fly.
Switch the game's own force feedback off
JoyPro drives the stick itself. Switch off the game's force feedback for that stick (DCS: the aircraft's FFB option;
IL-2: Settings > Input devices; War Thunder: force feedback off), otherwise the game holds the device and JoyPro
cannot send forces.
In the game: What you feel
Near the stall the stick shakes; under G it gets heavy; gear and flaps rumble while they move; on the runway it
rumbles with speed; guns kick in bursts; hits (IL-2) jolt sideways. The centring spring gets stiffer the faster you
fly, and trim (the game's, or JoyPro's own trim buttons) moves its centre. In menus or when the game pauses, JoyPro
stops every effect and lets go of the stick (only the centring spring stays when JoyPro provides it).
Device and forces: device, Strength (all effects), Max force (hard cap per axis: no effect and no sum
of effects goes above it), Direction (Invert X / Invert Y, saved per device), ↔ Direction test, Centring
("JoyPro provides the centring spring", needed for trim) and Spring stiffness (the plain spring on axes the graph
has no spring for).
Direction test, step by step (each step waits for ▶ Ready; ■ Cancel stops every force at any time):
Press ▶ Start. JoyPro pushes the stick RIGHT for 2 s (20 %). Answer: which way did it move?
JoyPro pushes it FORWARD for 2 s. Answer: which way did it move?
The centring spring. Answer: does it spring back?
The trim: the centre moves 35 % forward. Answer: did it move and stay?
After step 4, Invert X / Y is saved for this device. ↻ Repeat this step repeats the current step.
"It did not move" keeps that axis's setting and says what to check (on a VPforce stick: the Configurator's own spring
must be off for trim). ⏮ Start over begins again. The test needs the stick to itself: it refuses while JoyPro's
force feedback runs for a game.
Game: pick a game, Force feedback for this game, its Strength, its Graph (built-in or one of your
graph files; Open in editor), the switches of the built-in graph's effects (buffet, gforce, gear, flaps,
speedbrake, runway, shake, guns, hits, spring), Aircraft with their own graph or strength (Add aircraft,
Remove) and Telemetry export (Install, Remove, Dry run). Strength multiplies: global x game x
aircraft, then the max force cap.
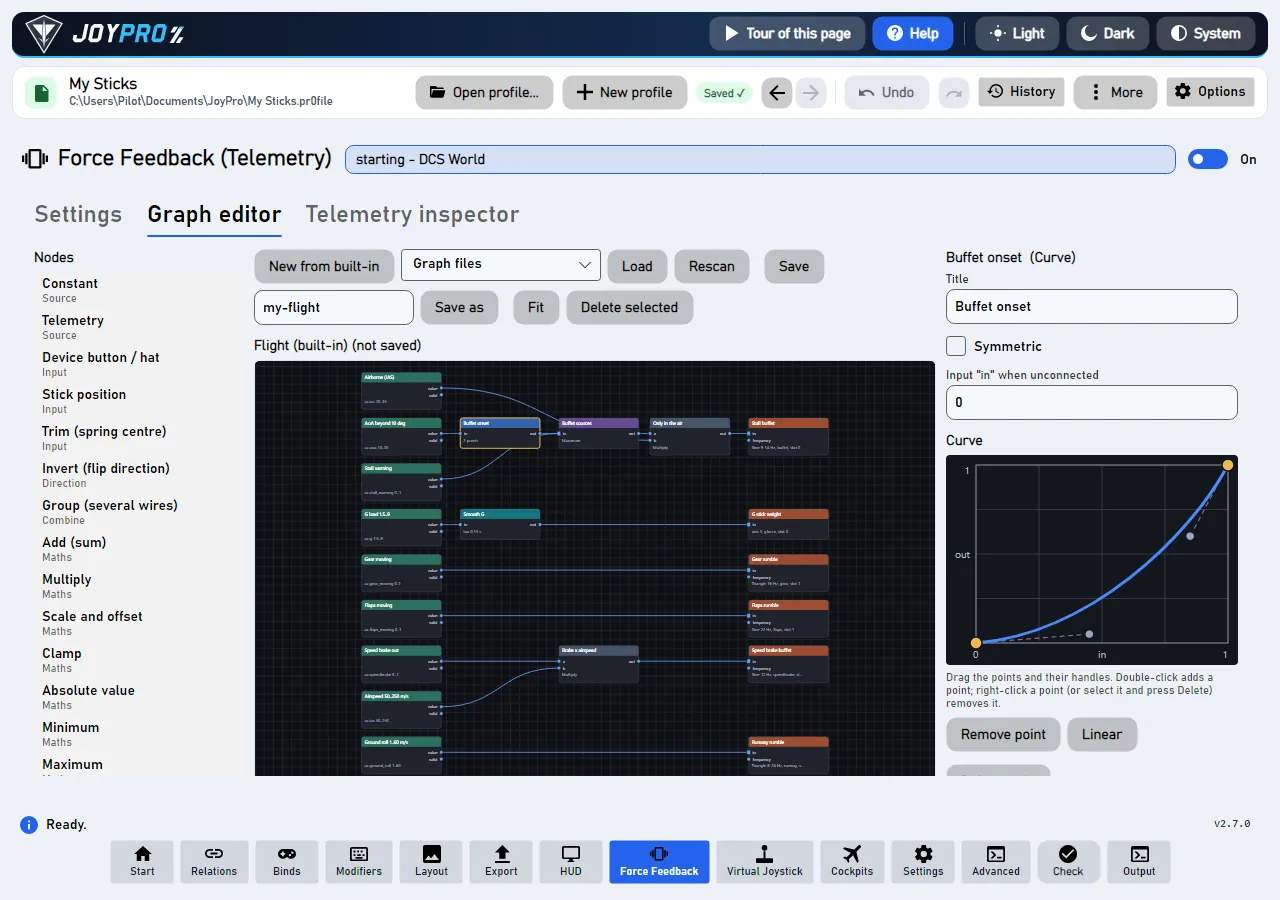
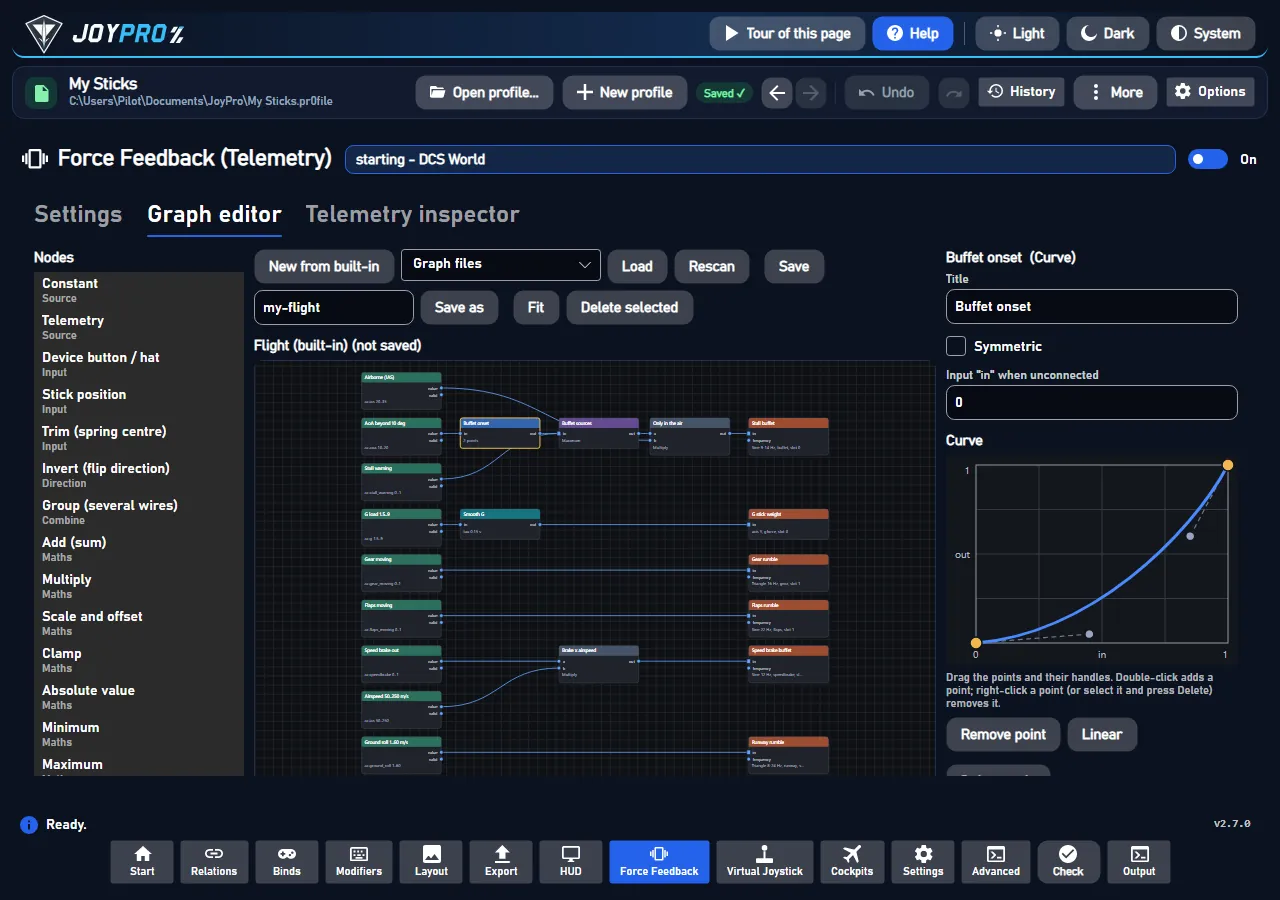
The graph editor: nodes, wires and the curve of a selected node
The graph is how telemetry becomes force. Values flow left to right through wires, normalised to 0..1 (-1..1 where a
direction matters):
Telemetry nodes read one key of the game (ac.ias, ac.aoa, ac.g ...) with min/max normalisation.
Group, Curve (a Bezier curve you drag), maths and stateful nodes (low pass, slew limit, threshold) shape
them.
Outputs are the effects: constant force, periodic (sine, square, triangle, saw; strength and frequency mapped
from the input), spring (stiffness, centre = trim), damper, friction. Outputs of one type on the same axis and slot
compete (the strongest wins); different slots add up.
Inputs from your devices: Device button / hat (any device; ⏺ Press the button now... captures it),
Stick position, Trim (⇕ Assign trim buttons asks for six buttons: trim to stick position, nose down,
nose up, left, right, reset).
Pick a node type and Add to the graph, drag from a port to another to wire them, select and Delete selected.
New from built-in starts from a copy of JoyPro's flight graph; Save / Save as write a graph file,
Load / Rescan read them. Then pick that graph for a game or aircraft on the Settings tab.
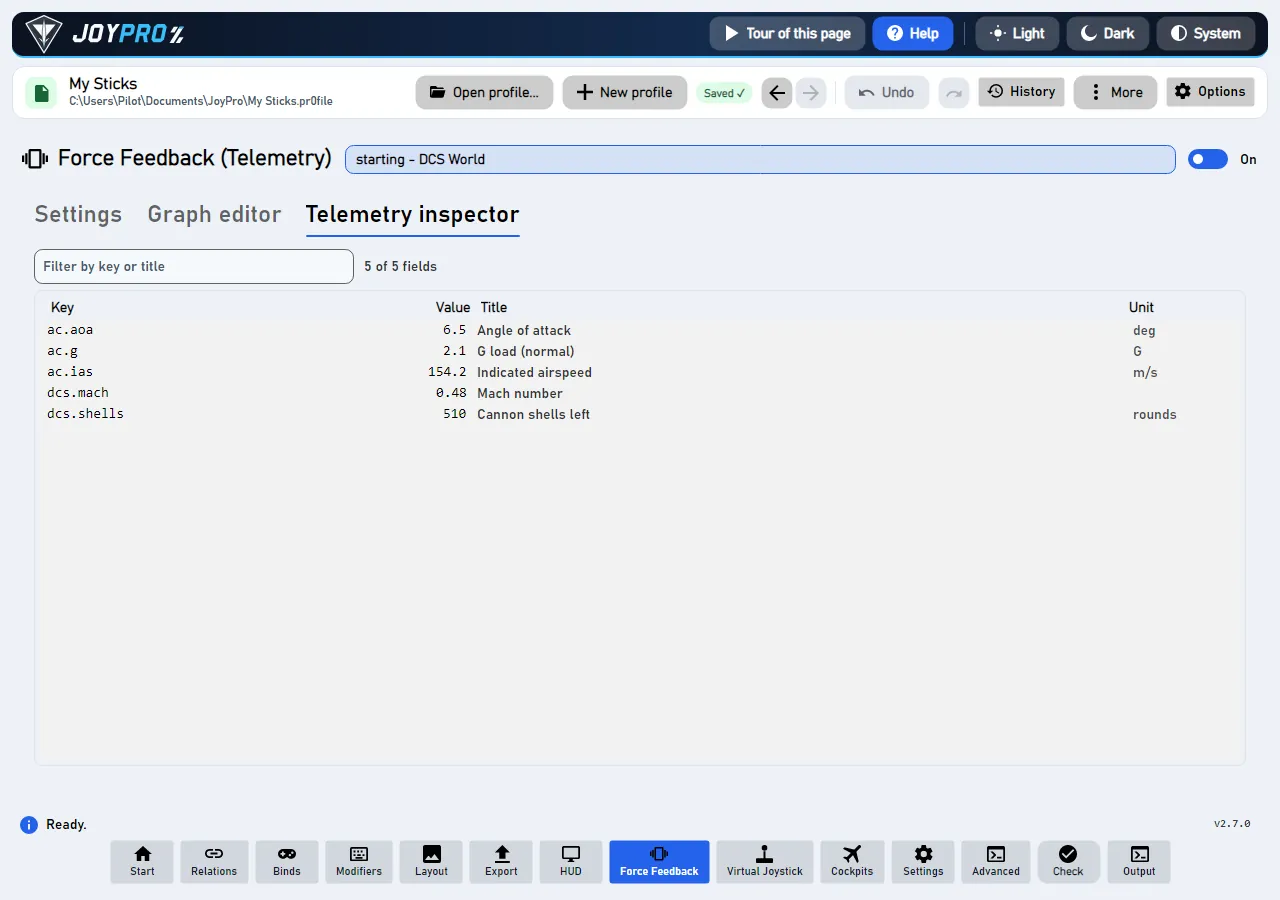
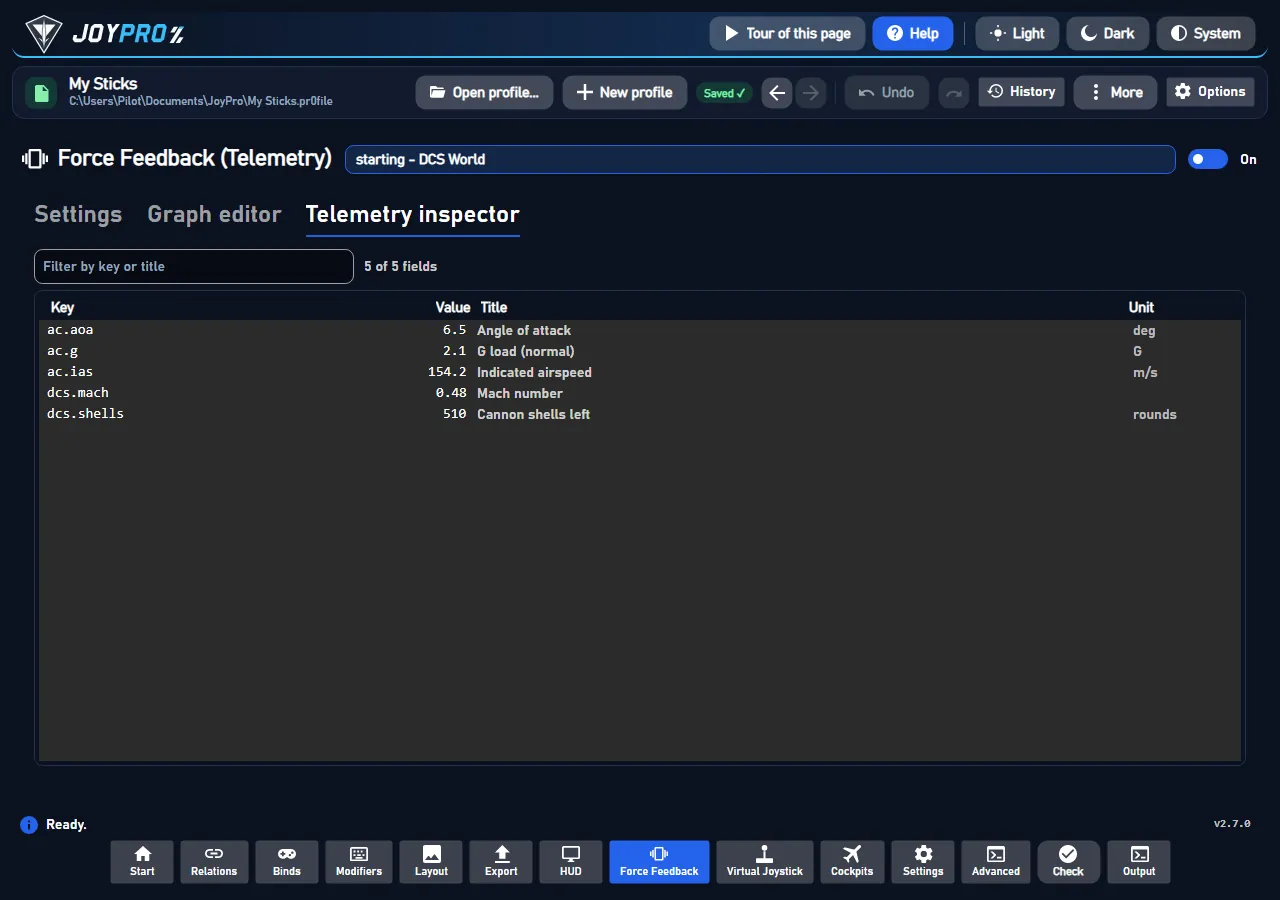
The telemetry inspector: every key of the running game live
Every telemetry key of the running game with its value, title and unit, live. Filter by key or title. Use it to see
which key to put into a Telemetry node and what range it has.
View model: MainWindowViewModel.FfbTelemetry.cs (settings, games, aircraft, setup, the process),
MainWindowViewModel.FfbDirectionTest.cs (the test wizard), FfbGraphEditorViewModel.cs (the editor);
Views/Controls/FfbGraphCanvas.cs, FfbCurveEditor.cs. The force feedback runs in its own process,
JoyPro.Ffb.exe (gui/JoyPro.Ffb, graph engine in gui/JoyPro.Ffb.Core).
The force feedback process from the game start to the release of the stick:
#
Who
What happens
1
JoyPro
Every 5 seconds while the page is On: is a supported game running?
2
JoyPro
Starts the force feedback process: JoyPro.Ffb run --game DCS --game-pid N --parent-pid M --protocol.
3
Game
Sends telemetry (UDP port 41992 for DCS).
4
Force feedback process
Takes the stick (exclusive) at the first force. Then, 50 times a second while telemetry arrives, it sends only the effect values that changed.
5
Force feedback process
Telemetry stops (menu, pause): STOP ALL, and the stick is released (springs stay with "centring spring").
Lifecycle: the process follows the game through its process handle and ends with the game or JoyPro. Every
constant and periodic force has a duration of 0.3 s and is restarted, so a hung or killed process cannot leave a
force on the stick. STOP ALL on telemetry timeout (0.5 s), game exit, JoyPro exit and any error.
Settings: <data>\Ffb\Telemetry\telemetry-ffb.json (<data> = %LOCALAPPDATA%\JoyPro2); graphs in
<data>\Ffb\Telemetry\Graphs\*.jpffb.json (format joypro-ffb-graph); last status in status.json.
Games: DCS (an Export.lua line, UDP), IL-2 Great Battles and Korea (the game's telemetry device output, UDP),
War Thunder (the game's local web server on port 8111, no setup needed). Games hidden in Settings > Games are not shown and not looked for.
Direction: positive force pushes right on X and towards the pilot on Y; invert X / Y per device (by instance
GUID) flips forces and the spring centre.
32 controls, read from the program’s source: 32 written, 0 with the facts from the source (tooltip, code comment, engine call), 0 still to be expanded.
Tooltip On: JoyPro starts its force feedback process whenever a supported game runs (checked every 5 seconds). Off: nothing runs or polls.
The page's main switch (saved in the settings file). On: JoyPro checks every 5 seconds for a supported game and starts
its force feedback process while one runs. Off: nothing runs or polls. In the game: with On, your force feedback stick
gets JoyPro's forces while you fly.
Tooltip Saved for this device. The direction test below finds it for you.
Flips left and right for the forces (and the spring centre) of this device; saved per device. The ↔ Direction test
sets it for you. In the game: a push to the right is felt to the right.
Tooltip JoyPro gently pushes the stick (20 %), asks which way it went and sets Invert X / Y. Also checks the centring spring and trim.
Starts the direction test: JoyPro gently pushes the stick (20 %), asks which way it went and sets Invert X / Y; it
also checks the centring spring and the trim. It needs the stick to itself, so it refuses while JoyPro's force
feedback runs for a game.
#JoyPro provides the centring spring (needed for trim)
Check boxwritten
Tooltip On: while JoyPro drives the stick it always keeps a centring spring (also while the game pauses), and trim moves its centre. Off: JoyPro sends no spring; the stick's own centring acts (no trim from JoyPro).
On (the default): while JoyPro drives the stick it keeps a centring spring, also while the game pauses, and trim moves
its centre. Off: JoyPro sends no spring; the stick's own centring acts and there is no trim from JoyPro. Saved in the
settings file.
From the code JoyPro provides the centring spring while it drives the stick (graph springs + a plain spring + held in pauses).
Direction test: starts the announced step (the push, the spring check or the trim move). Each step waits for this
button, so you can hold the stick loosely first. The stick moves gently (20 % for the pushes).
Direction test: your answer to the shown question (right / left / it did not move; springs back or not; moved and
stayed or not). The answer to a push decides Invert X or Invert Y; at the end the found settings are saved for the
device.
Saves changes still waiting, then reads the settings and the process state again (engine ffb telemetry status):
games, graphs, aircraft, the telemetry export state.
Force feedback for the selected game on or off (saved in the settings file through engine ffb telemetry config set).
Off: JoyPro.Ffb does not drive the stick in that game.
Removes the aircraft's own graph and strength (engine ffb telemetry config clear --plane); it uses the game's
settings again. A running force feedback reloads them.
Adds the typed aircraft (as the game names it, for example F-16C_50; empty = the one flying now) with its own strength
and graph. In the game: that aircraft gets its own forces from the next reload.
Tooltip Adds JoyPro's telemetry export to the game (backed up first; other exports keep working). Close the game first.
Telemetry export of the selected game: Install adds JoyPro's telemetry export to the game (the game file is
backed up first; other exports keep working), Remove takes it out again, Dry run shows what Install would
change. Close the game first. War Thunder needs none. Engine: engine ffb telemetry setup.
From the code mode: "install", "remove" or "dry-run" (a dry run of the install).
Adds a node of the type picked in the list to the graph (telemetry, curve, maths, effect output, device button,
trim ...). Wire it up and save the graph.
Starts a new graph from a copy of JoyPro's built-in flight graph (buffet, G weight, gear, flaps, speed brake, runway,
shake, guns, hits, the spring with trim). Save it under a name to use it for a game or aircraft.
A switch among the selected node's settings, for example a Constant node's Active, Invert, a constant force's
"Invert direction" or a spring's "Invert centre". Changes what that node or effect does; saved with the graph.
Tooltip Then press the button or hat on any device (stick, throttle, panel): it becomes this node's input.
Graph editor, a selected device button node: ⏺ Press the button now... waits for the next button or hat press on
any device (stick, throttle, panel); it becomes the node's input. Save the graph to keep it.
From the code The selected button node: the next press on any device becomes its device and input.
Tooltip Asks for six buttons in turn: trim to stick position, nose down, nose up, left, right, reset. Wait to skip one.
Graph editor, a selected Trim node: asks for six buttons in turn (trim to stick position, nose down, nose up, left,
right, reset); wait to skip one. A button node is added for an input without one. Save the graph to keep them. In the
game: these buttons trim the stick's centring spring.
From the code The selected Trim node: one press per trim input (to stick position, nose down, nose up, left, right, reset); a button node is added for an input without one. Waiting out the time skips an input.